12 Best Chromebook Accessibility Features for Students with special needs
Chromebooks have become an increasingly popular and wanted device among students! It is not a surprise as Chromebook devices are affordable, have a long life span and have a user-friendly interface as the most prominent characteristics. But what sets the Chromebook apart from other laptops on the market is its accessibility features making the Chromebook device the perfect choice for students with special needs. Those accessibility features provide students with an equal opportunity to access and unlock the learning experience and feel engaged in the classroom process.
Chromebooks offer a wide range of features for students with diverse learning abilities. Those features are catered to students with visual, auditory and physical impairments. In the following section, you will find 12 accessibility features that are made to make the learning process of every student equally accessible:
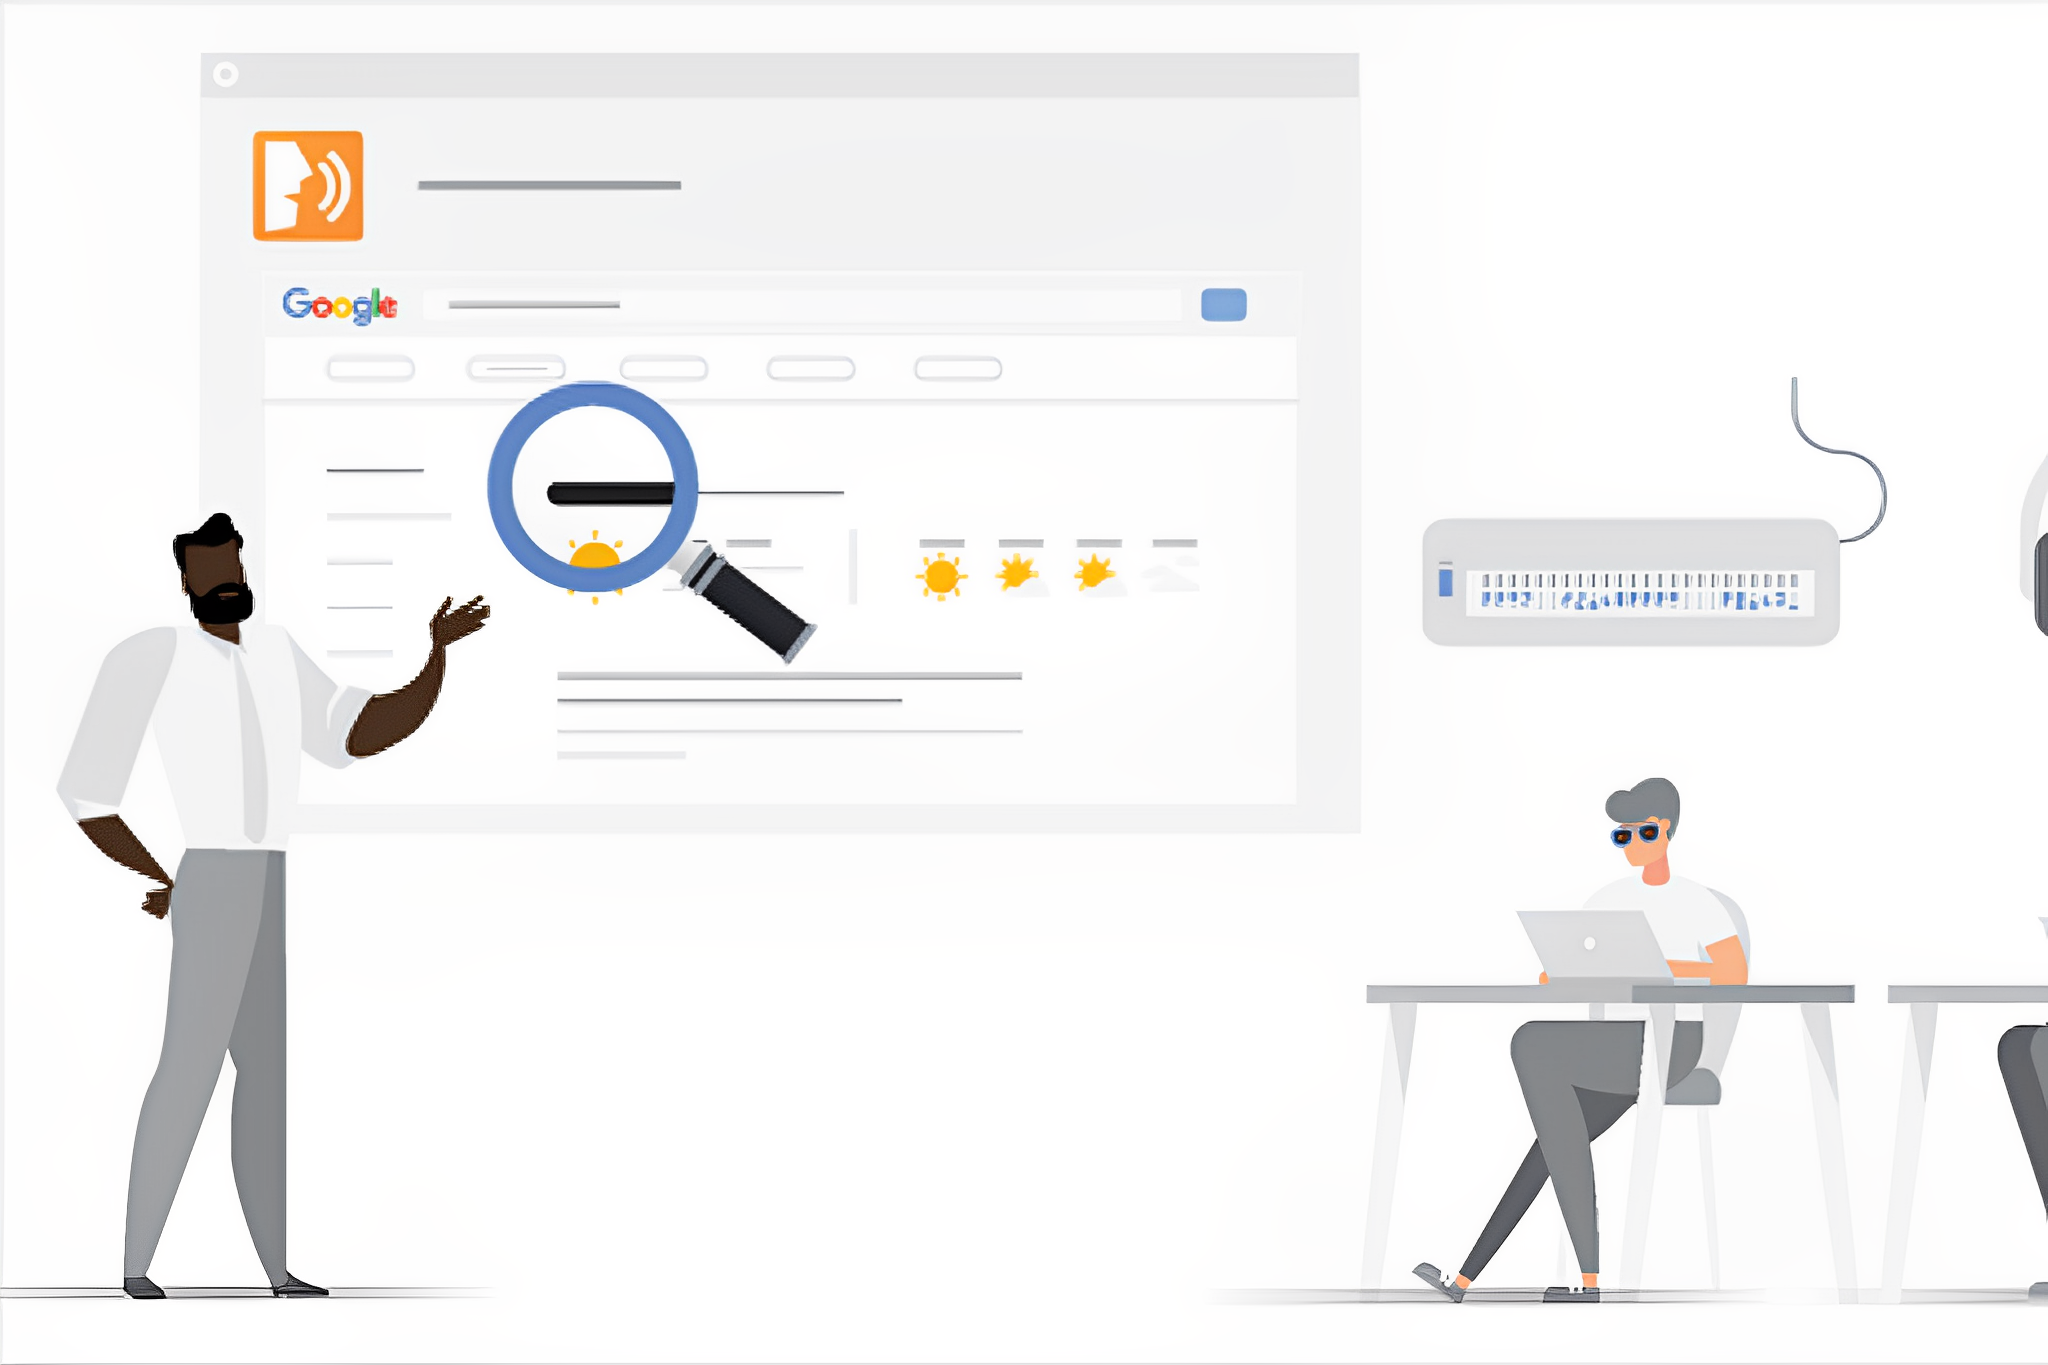
1. ChromeVox Screen Reader: This is a feature built into the Chromebook’s screen that helps students with visual impairments by reading out loud different documents, videos, and applications providing access to digital content. By using keyboard shortcuts students can navigate faster and easier through the device.
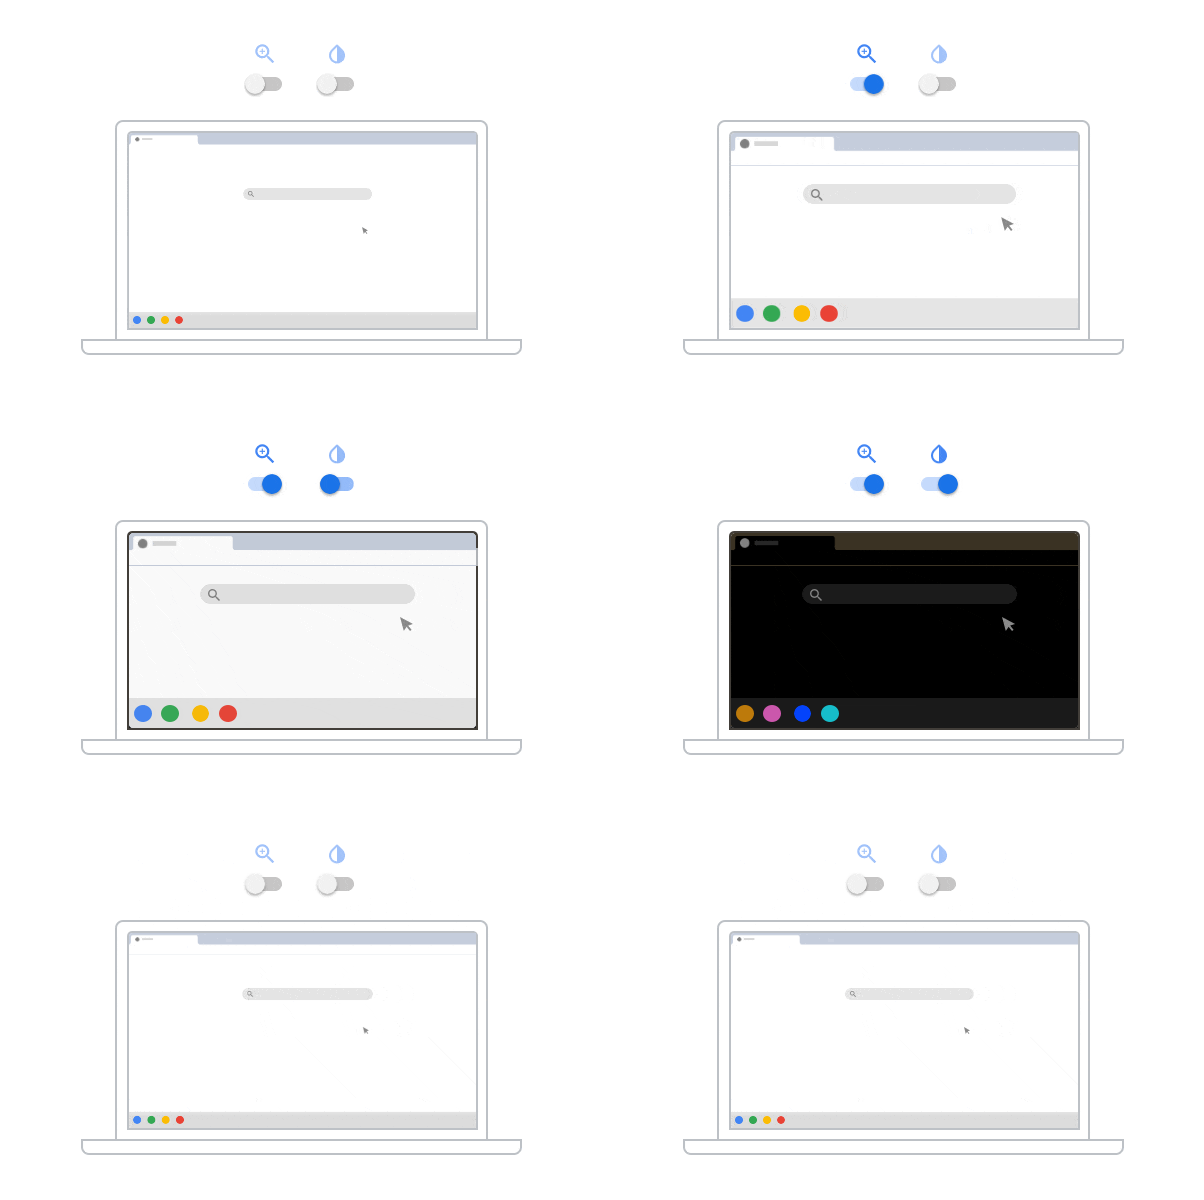
2. High Contrast Mode: This feature of the Chromebook is made to adapt the contrast mode on the display to make it easier for students with low, impaired or colour-blindness vision in order to be able to read the text on the display screen. The mode switches the colour of the background from white to black and the text colour from black to white, making it easier to distinguish and read the text.
3. Adjust Mouse Cursor Size: Chromebook provides an option for adjusting the size of the mouse cursor on your screen in order to make it easier to see and not lose sight of it. This feature supports students with visual impairments and difficulties tracking and or seeing the mouse cursor on the screen. In order to activate the feature go to the following settings “Mouse and touchpad” – “Cursor size” and now you can select and choose the ones that work best for you!
4. Highlight Cursor and Text: This highlight feature allows you to accentuate both the mouse cursor and the text as you type, making it easier to keep track of your position on the page. The feature is useful for users with cognitive disabilities as well as for those who have trouble focusing their attention on the screen. To activate the feature go to settings “Accessibility” – “Highlight cursor and text”.
5. Braille Support: Chromebooks provide this feature for users who are blind or have low or impaired vision by supporting a braille display connection. By connecting a braille display to your Chromebook you can navigate the operating system to read and write text. There are multiple braille input methods supported by the Chromebook and you can use the display to type as well. In order to activate the function go to settings “Accessibility” – “Manage accessibility features” – here you can customize and adjust the settings of the display in order to fit your needs.
6.Zoom and Magnification: Chromebooks include an integrated zoom capability that allows students to enlarge the screen by up to 500%. This function is especially beneficial for students who have vision problems or who need to notice finer details more clearly.
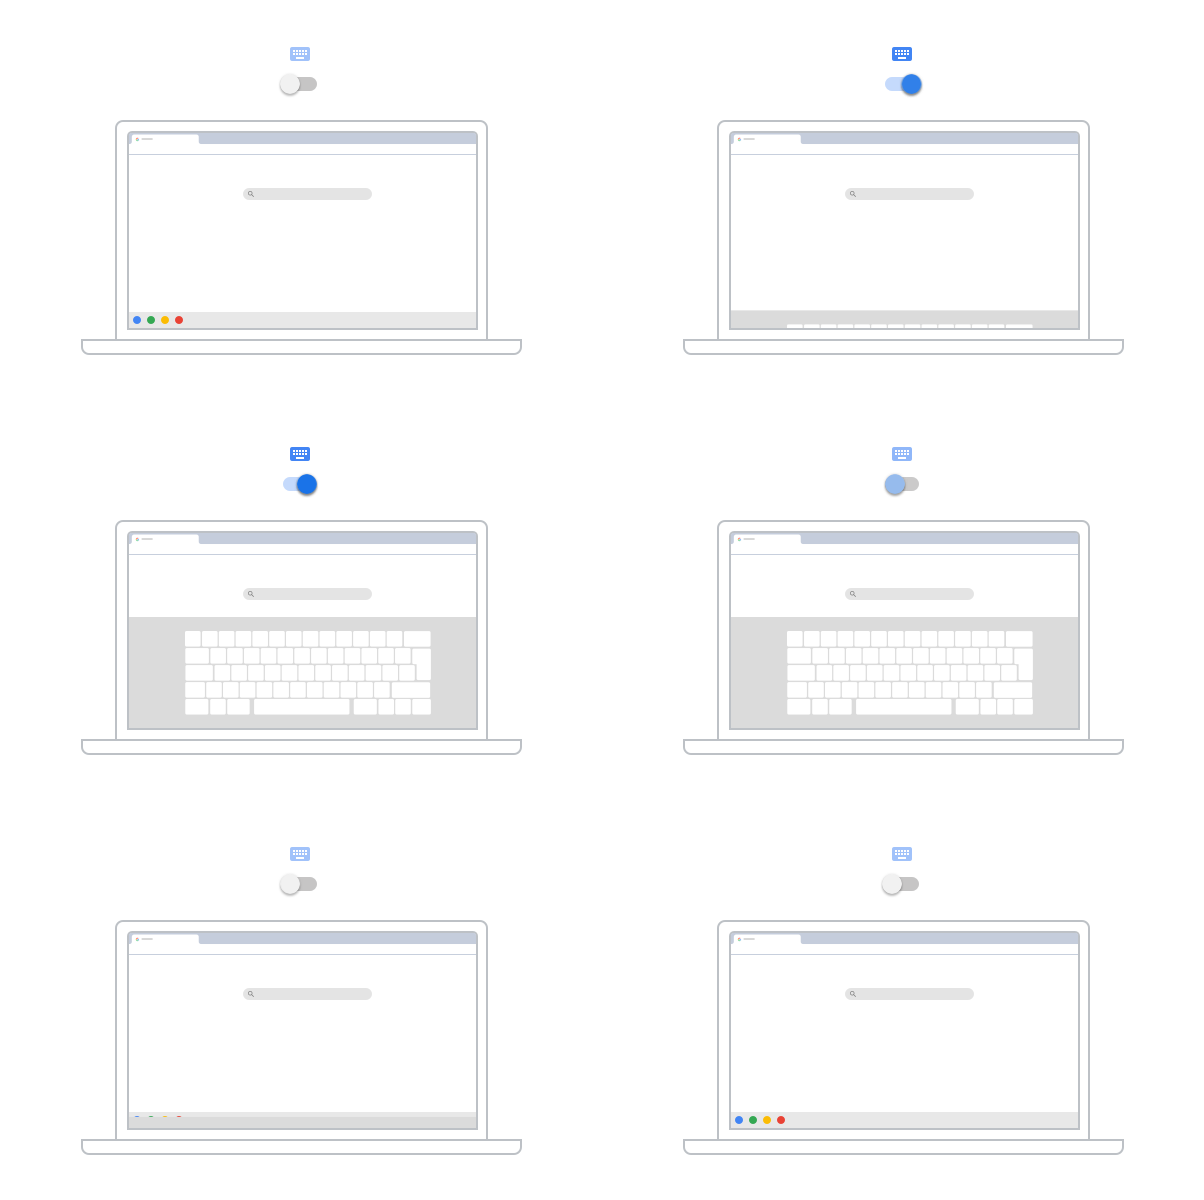
7. On-Screen Keyboard: In the absence of a real keyboard, the on-screen keyboard appears as a virtual keyboard on the screen. Students who are physically challenged or who utilise alternate input devices will benefit from this feature.
8. Voice Typing: Voice typing is an option available on Chromebooks that allows students to dictate their thoughts rather than type them. For students with disabilities that affect motor skills or those who have trouble typing, this feature is particularly useful.
9. Select-to-speak: This feature allows the device to read out loud any selected text on the screen. This facilitates reading comprehension and makes it easier for students with difficulties reading.
10. Dictation: This feature is useful for students who have difficulties typing and/or navigating a keyboard and instead are using their voice to type (sending a command to the Chromebook). The dictation feature is especially useful for students with motor skill impairments. To access the dictation feature go to settings “Accessibility” – “Manage accessibility features” – and from here you can choose how you wish to customize the language, punctuation and voice commands. Once the dictation feature has been activated a shortcut can be used (press the “Search” and “D” keys simultaneously) to access voice dictation on the Chromebook.
11. Sticky Keys: By enabling the feature you can press a key at a time and the Chromebook will register each individual key as a combination of keys. The Sticky Keys function is developed for users who have difficulty operating a keyboard and pressing multiple buttons simultaneously. In order to access and activate this feature go to settings “Accessibility” – “Keyboard” – here you can turn on and off the function and customise the duration of the delay and the sound settings based on your preferences and needs.
12. Chromebook Accessibility Menu: The accessibility menu on each Chromebook provides its users with quick access to a variety of options and features which can also be accessed by pressing simultaneously the search and launcher keys menu.
Chromebook’s goal is to provide accessible technology to everyone regardless of how different students’ needs and learning capabilities are. Those features listed in this article are some of the many accessibility features Chromebooks have to offer in order to make the learning experience available, enjoyable and inclusive to each and every student.
Google has created a playlist on YouTube dedicated to the Accessibility Features of a Chromebook and how to implement and use them yourself! Feel free to check it out!


